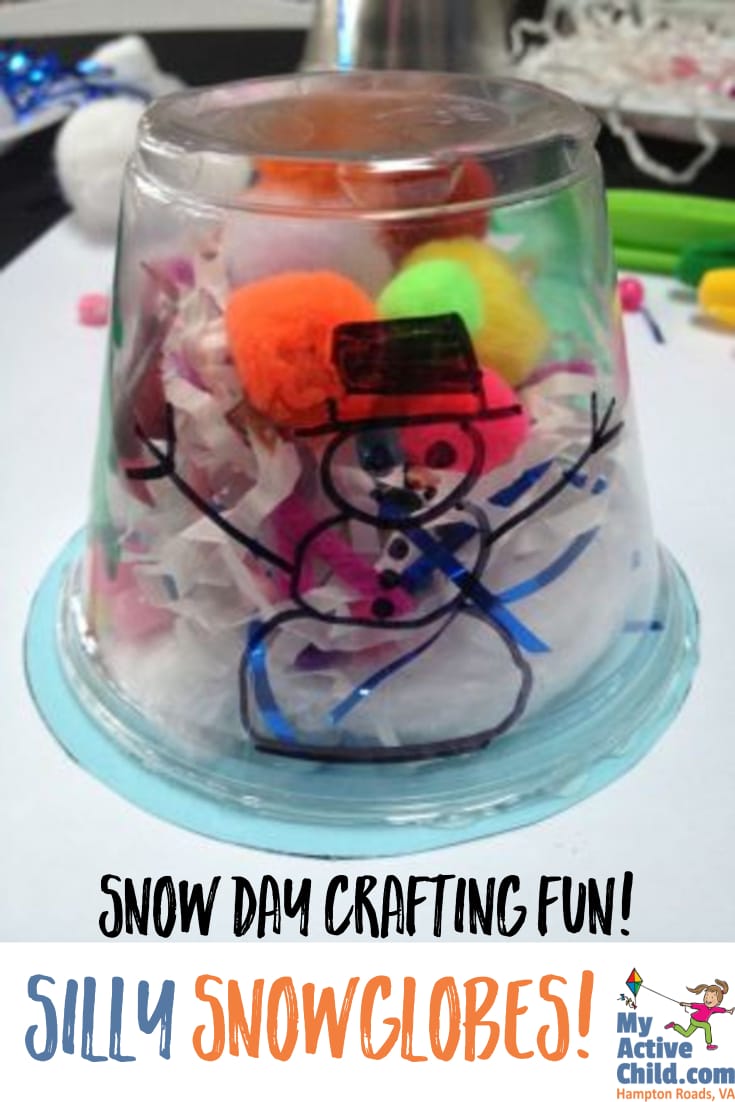
Guest Post: MOCA’s Silly Snow Globes!
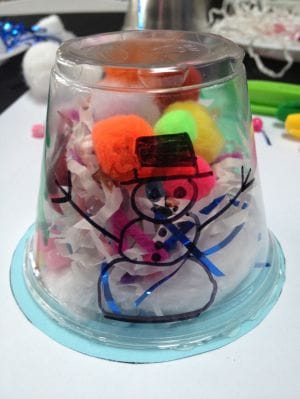
This Guest Post from Virginia MOCA gives detailed instructions on how to make a silly snow globe (as well as several other craft ideas).
A perfect craft to do with the kids while they are home on a snowy day!
Materials:
- Clear plastic cup (a 9oz. cup works well)
- Sharpies or other permanent markers (darker colors work best)
- Hot glue gun and glue sticks
- A piece of cardstock or other thick paper
- Pencil
- Scissors
- Cotton balls
- Sparkly and colorful found objects
- (pompoms, pony beads, tinsel, yarn, feathers, small pieces of wrapping paper, sequins)
Instructions:
- Place your clear plastic cup upside down on the cardstock. (The cardstock can be colorful, or you can use white cardstock and color it before cutting out the circle)
- Use a pencil to trace around the opening of your cup.
- Cut out the circle with scissors, but leave about ¼ inch of space around what you traced. Make sure the circle is BIGGER than the opening of the cup. You will use this as the base for your snow globe.
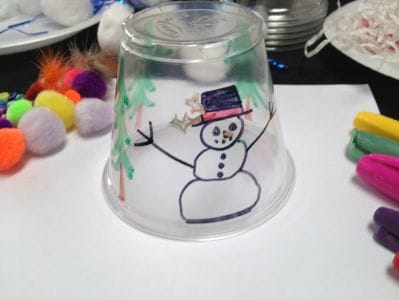
- Using a permanent marker, decorate the outside of your cup with a holiday scene, snowflakes, or anything you would like to draw.

- Turn you cup right side up and fill it about half way full with the sparkly and colorful found objects you gathered. (There should be enough room for the materials to move around when the project is finished) Save the cotton ball(s) for last!
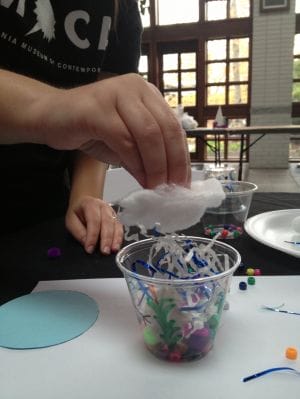
- Pull the cotton ball apart to make it a little fluffier and then place it on top of all the other fun materials in your cup. (This will hold the other materials in place when it is time to glue and keep the “snow” on the bottom when the project is finished. If the cotton ball goes in first it might limit the movement of the other materials.)
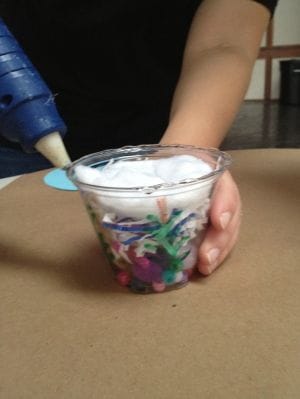
- Use a glue gun to carefully put glue around the edge of your cup.
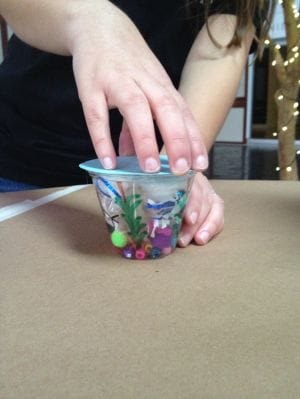
- Place the cut out circle on top of the cup. Carefully flip the cup over and press down on a hard, flat surface to make sure the glue and base are nice and secure.

- Shake it up and your snow globe is finished!
Other Ideas:
- Make an ornament! Before decorating your cup, carefully poke a hole in the bottom of the cup by placing it right side up on a few sections of newspaper. Use a hammer and large nail to gently hammer through the cup into the newspaper. Tie a piece of thin ribbon with a sailors knot, poke the other end through the hole in the cup from the inside so that the knot catches in the hole, then continue decorating and assembling with the above steps.
- Glue a photo of your child to the cut out circle and place it facing down (into the cup) when you glue the base to the cup. When you shake the snow globe your child’s smiling face will appear at the bottom.
- Make a whole village or town by creating multiple snow globes to be displayed together on a mantel or table.
- Place a row of silly snow globes on a windowsill to add a little sparkle throughout the winter months.
- Ask your child to tell you a story about their silly snow globe.
